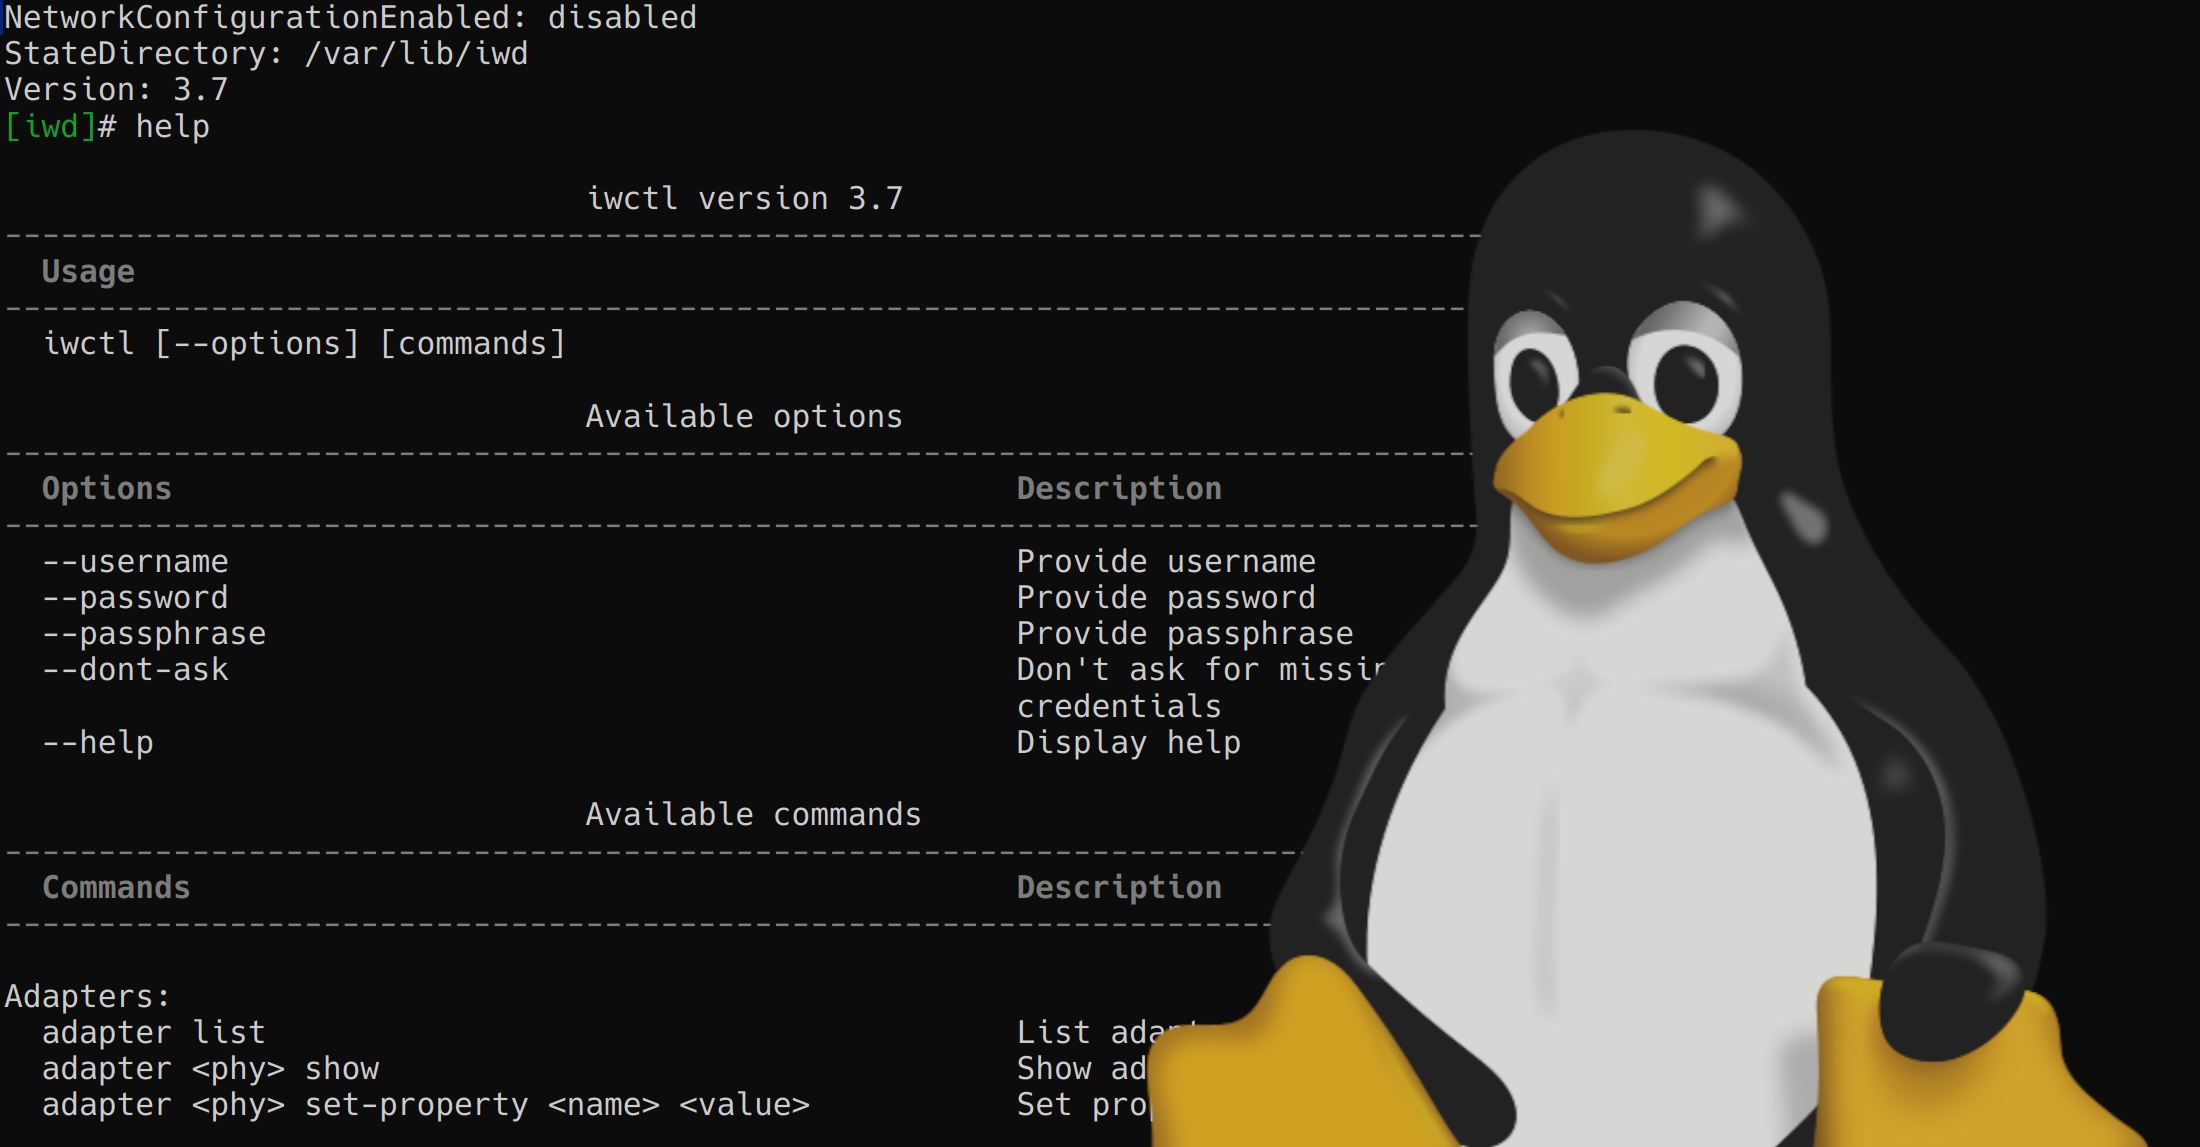
Using iNet Wireless Daemon (IWD) for PSK and 802.1x
A brief demonstration on how to use IWD for PSK and 802.1x specifically for universities.
What is IWD?
IWD stands for iNet Wireless Daemon, which was developed by Intel. It is a very optimized network manager that allows users to directly interact with their cards. It all runs in the terminal with a good looking command-line interface. Multiple different Linux distros are capable of using it, including Arch, Debian, Fedora, Ubuntu and more. Across the time I’ve used it, I’ve been very impressed with how straightforward it is when using it to manage the network adapter on my computer.
Finding Networks
To be able to find networks, first, we must identify what network device you want to use by running: iwctl device list
1
2
3
4
5
                                    Devices
--------------------------------------------------------------------------------
  Name                  Address                  Powered      Adapter     mode
--------------------------------------------------------------------------------
  wlan0                 ab:12:34:cd:5e:67        on           phy0        station
Take this output for example, we see that there is only one available adapter. This may vary depending on the user, but if you’re running a personal laptop you’d more than likely only have one option.
Once we have our device picked out, we can now use station to manage it. Your network adapter should automatically scan for networks, however if it has not automatically scanned, iwd has a feature to use for this. Which is iwctl station {device name} scan, which will manually scan for networks. It is also a good command for diagnosing if there is a problem with your adapter or not.
After scanning running iwctl station {device name} get-networks will bring up all available networks.
1
2
3
4
5
6
7
8
9
10
                               Available networks
--------------------------------------------------------------------------------
      Network name                      Security            Signal
--------------------------------------------------------------------------------
      network1                          8021x               ****
      network2                          8021x               ****
      guest                             psk                 ****
      someone's hotspot                 psk                 ****
      network3                          psk                 ****
      network4                          psk                 ****
Now we can see the networks we want to connect to.
Connecting to a network with PSK
Pre-Shared Key (PSK) is one of the most widely used authentication methods due to its simplicity. It’s probable that your home network uses PSK for authentication. Authenticating in PSK with IWD is very straightfoward.
First, we have to tell IWD that we want to connect to this network, by running: iwctl station {device name} connect {network name}
If we’re able to successfully tell our adapter to attempt to connect, it should then ask us to input a password, which we should already know if we want to connect to this network. Upon successfully being authenticated, we can then use ping 8.8.8.8 to see if we’re able to send and receive packets. A working network should have communication like this:
1
2
3
4
5
6
7
8
9
10
11
[user@user ~]$ ping 8.8.8.8
PING 8.8.8.8 (8.8.8.8) 56(84) bytes of data.
64 bytes from 8.8.8.8: icmp_seq=1 ttl=117 time=3.54 ms
64 bytes from 8.8.8.8: icmp_seq=2 ttl=117 time=4.41 ms
64 bytes from 8.8.8.8: icmp_seq=3 ttl=117 time=7.32 ms
64 bytes from 8.8.8.8: icmp_seq=4 ttl=117 time=9.62 ms
64 bytes from 8.8.8.8: icmp_seq=5 ttl=117 time=6.68 ms
^C
--- 8.8.8.8 ping statistics ---
5 packets transmitted, 5 received, 0% packet loss, time 4007ms
rtt min/avg/max/mdev = 3.538/6.313/9.623/2.164 ms
Connecting to a network with 802.1x
802.1x in IWD can be troubling if you are left without any idea on how to authenticate. You cannot connect like your typical PSK home network, and it requires more parameters such as a username.
School wifi commonly uses 802.1x since there are user accounts linked to school emails, which cannot be authenticated normally into IWD. However, to handle this all we need to do is create an authentication protocol for IWD to read whenever you’re looking to connect to a network with 802.1x. A very common one network that you can do this on would be eduroam but you can use this for any network.
To do this you need a file with the following information:
1
2
3
4
5
6
7
8
9
10
[Security]
EAP-Method=PEAP
EAP-Identity=userid@schooldomain.edu
EAP-PEAP-ServerDomainMasl=rad-proxy.fe.schooldomain.edu
EAP-PEAP-Phase2-Method=MSCHAPV2
EAP-PEAP-Phase2-Identity=userid@schooldomain.edu
EAP-PEAP-Phase2-Password=yourpasswordhere
[Settings]
AutoConnect=true
Make changes to the file, replacing userid with your student ID, schooldomain.edu with your school email’s domain, and yourpasswordhere to the password you use. Deciding whether or not you want to automatically connect is up to you, and can be changed with the AutoConnect variable. It is worth noting that some networks may require a .cer file or a .pem file for authentication. To do this there are tools on Linux that alllow you to create them such as openssl. Which you can run openssl x509 -inform PEM -in cacert.pem -outform DER -out certificate.par and changing the name to the corresponding network you’re authenticating for. If you don’t run into this problem, feel free to skip it.
Once you have the information written, you want to save this to /var/lib/iwd so it can pull this information when you want to connect. You’ll want to save this as either eduroam.8021x for eduroam, or essid.8021x for your school’s wifi.
Once it is saved, go ahead and run a scan using iwctl station {device name} scan, wait for it to finish, and then run iwctl station {device name} connect {network name}. Once it is connected run ping 8.8.8.8 and make sure you see packets being successfully transmitted to and from the server you are pinging.
